

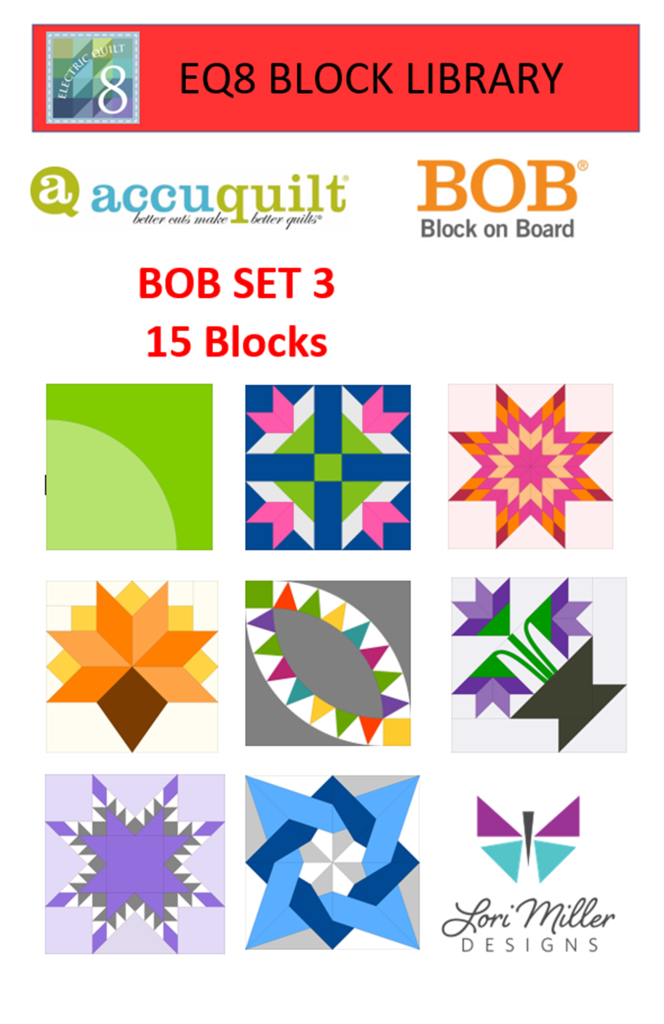
New BOB Blocks are here! This new Add-on EQ8 Block Library for AccuQuilt contains the 9 BOB blocks and variations that were released in 2023. BOB die blocks enable you to create an entire block with one die board. Every piece needed for the block is on the design board. You can design your quilt with EQ8 and then use your AccuQuilt GO! cutter to cut it out.

This file contains SET 5 of the BOB block designs which includes 9 blocks. The blocks vary in size as indicated to match the actual size of the BOB die block. I have included the size of the block by the name reference.
The ONLY designs included in this set are:
- GO! Canning Jar 8” (55614)
- GO! Fractured Tumbler 6” (55627)
- GO! Friendship Chain 10” (55441)
- GO! Full Blown Tulip 8” (55616)
- GO! Joseph’s Coat 11” (55622)
- GO! Lotus Block 10” (55609)
- GO! Palm 8” (55193)
- GO! Signature Circles 6” (55624)
- GO! Turkey in the Straw 10” (55628)

Required: A running copy of EQ8 Quilt Design Software from The Electric Quilt Company.

Required: You will need the Accuquilt BOB die set in the size that matches the EQ8 library file in order to cut out these block designs with the Accuquilt GO! Cutter. Make sure your cutter is the right size for the BOB die.

This is a downloadable digital file that you will place into your personal block library. Once you place the block file in your library, you will be able to use it immediately to draw and design quilts. I have included all of the instructions to add the files to your EQ8 Design Software. You will receive the EQ8 Block library, a block reference guide and an instruction document. The blocks are all labeled to match the reference guide.

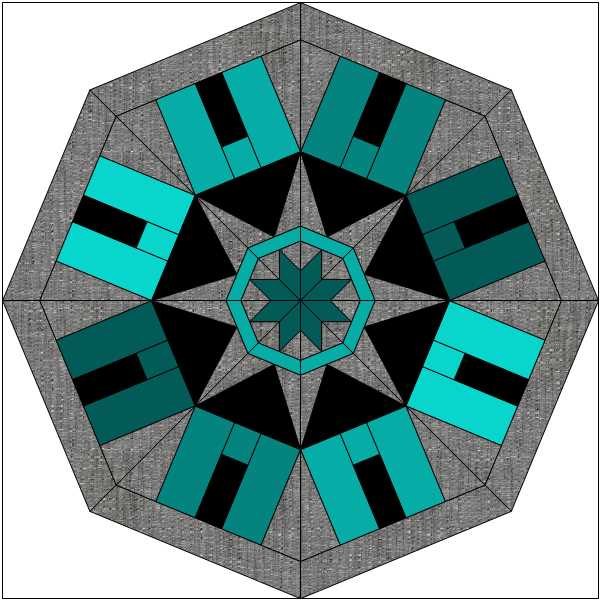
Now you can use the power of EQ8 to recolor and combine blocks to design beautiful quilts.
Once you have designed your quilt, you can use your Accuquilt GO! Cutter to make it. I have also included tips and suggestions for determining what dies to use and how to determine fabric requirements.
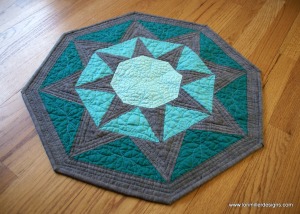
I hope you enjoy these files as you create your BOB design quilts.
Happy designing with your AccuQuilt Block on Board Set 5 library blocks in EQ8!

If you liked the new Add-on EQ8 Block Library files for AccuQuilt BOB Set 5, check out my other available Add-on Block libraries for EQ8 that work with AccuQuilt in my shop.
I appreciate your feedback and suggestions on this product. Please tag me on Facebook or Instagram @lorimillerdesigns with your designs, I would love to see them.


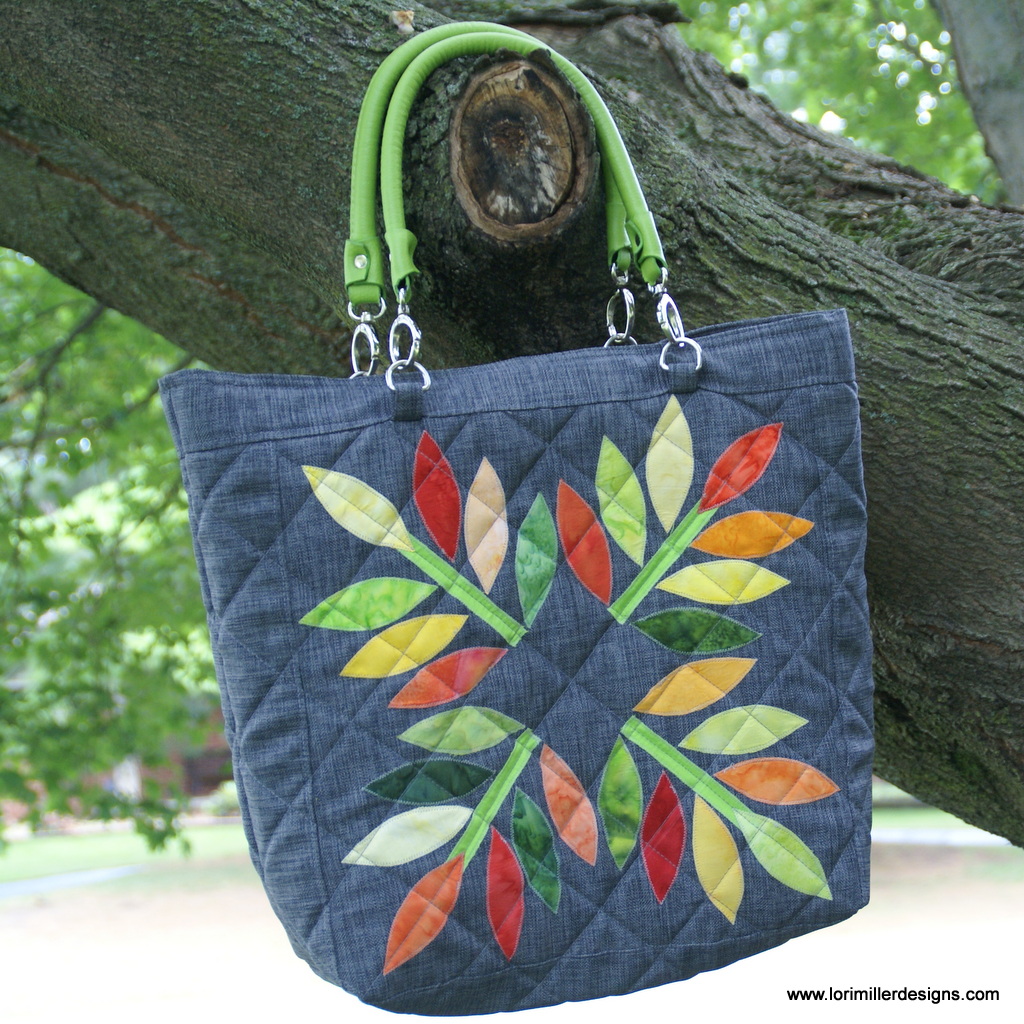
 I used my picture to trace the drawing in EQ8. First, I scanned my drawing and imported it into the quilt design software. Then I traced and edited the shapes to create the overall Applique motifs. Electric Quilt allows you to print and mirror the templates so they are perfect for tracing onto fusible applique paper.


